Cloud 101: Introduction to AWS, Azure and Google Cloud
Introduction to the Google Cloud console & using the Compute Engine API
Break: min
Launch a Google Cloud compute engine
Like for AWS and Azure, we will be deploying a Google Cloud compute engine. We can deploy a GCP compute engine through the console or using Google Cloud Shell. The equivalent in GCP of the AWS or Azure CLI is called the gsutil.
Once you sign in, this is what the console looks like - they call it the dashboard:
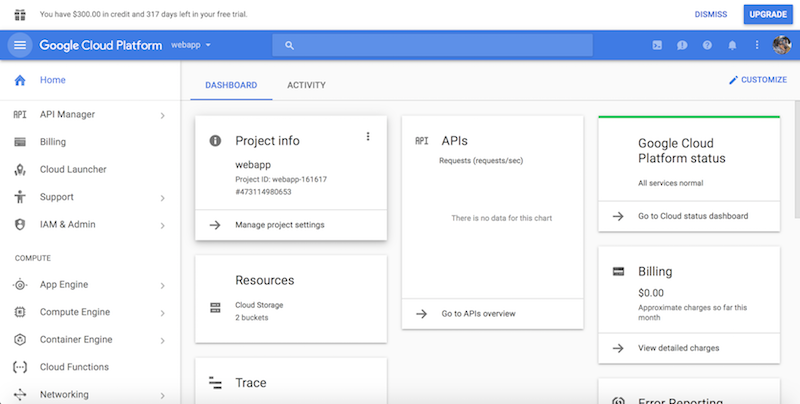
Select “Compute Engine” on the left hand menu

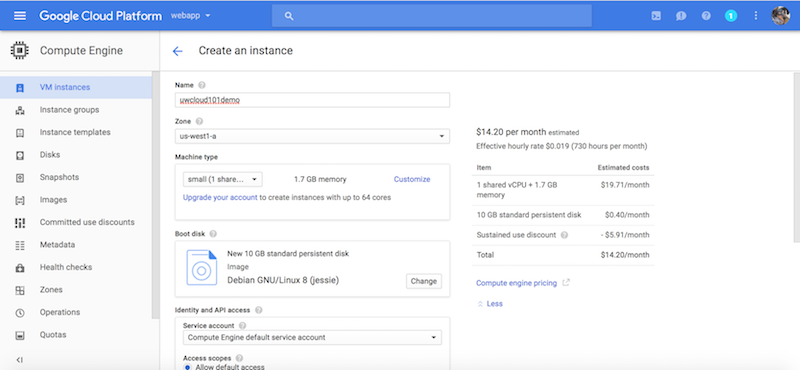
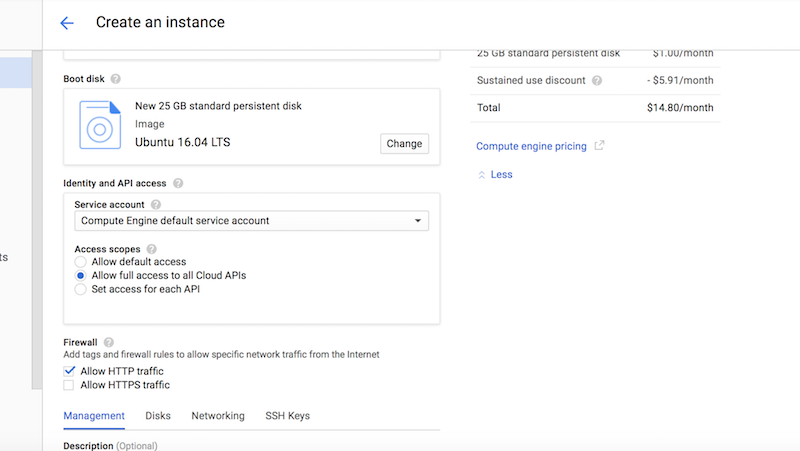
Next, create a small machine in the us-west1-a zone. For the boot disk, use a 25GB Ubuntu 16.04LTS disk. For identity management and API access, choose “Allow full access to all Cloud APIs”. We are also going to allow full HTTP access.
You can see the estimated pricing on the right hand side of the screen which is pretty nifty.
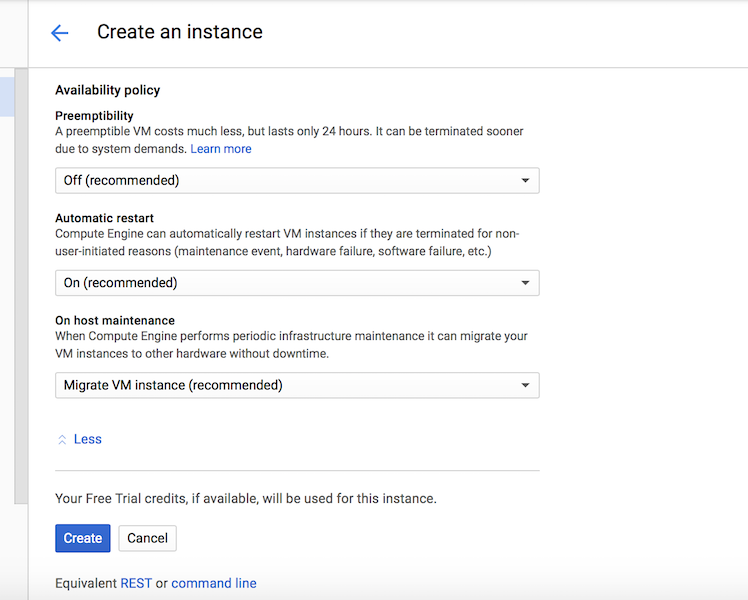
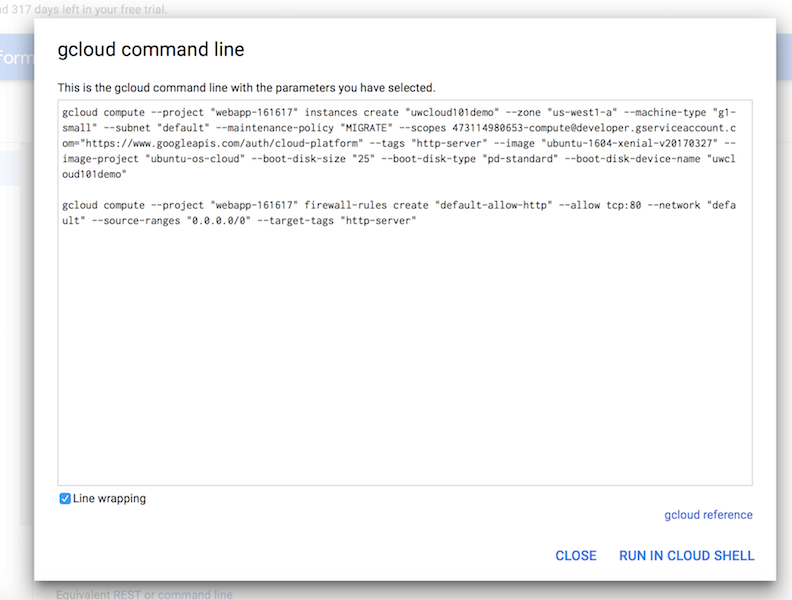
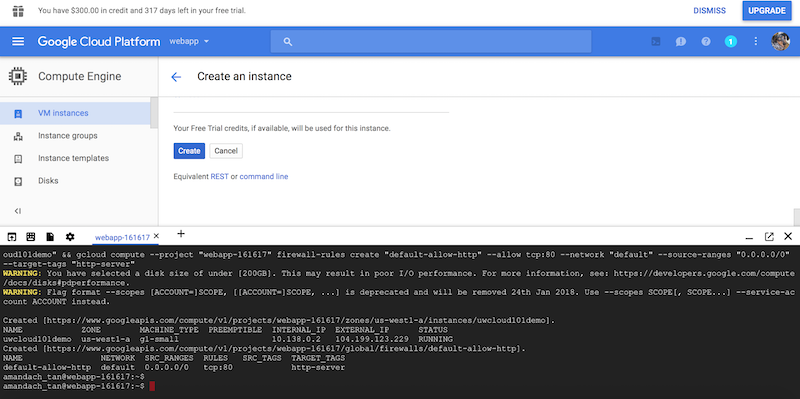
You can leave the other options as the default. At the bottom of the screen, instead of clicking on “Create” we are going to test out the gcloud command line. This will bring up the terminal in the browser.
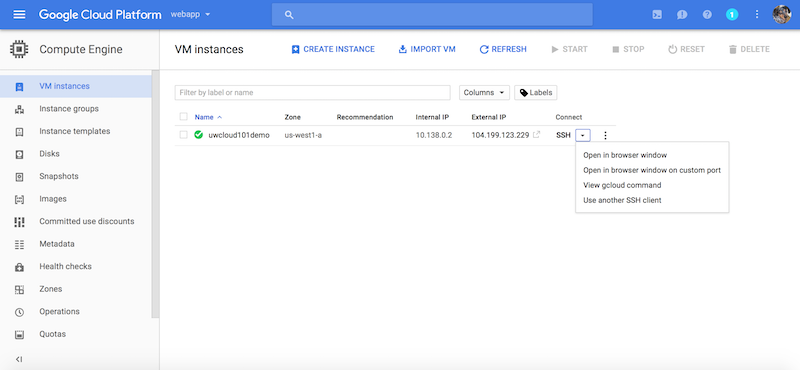
Check if the virtual machine has been provisioned by going to the Compute Engine dashboard.
You can open an SSH terminal from your browser once you find your compute engine.

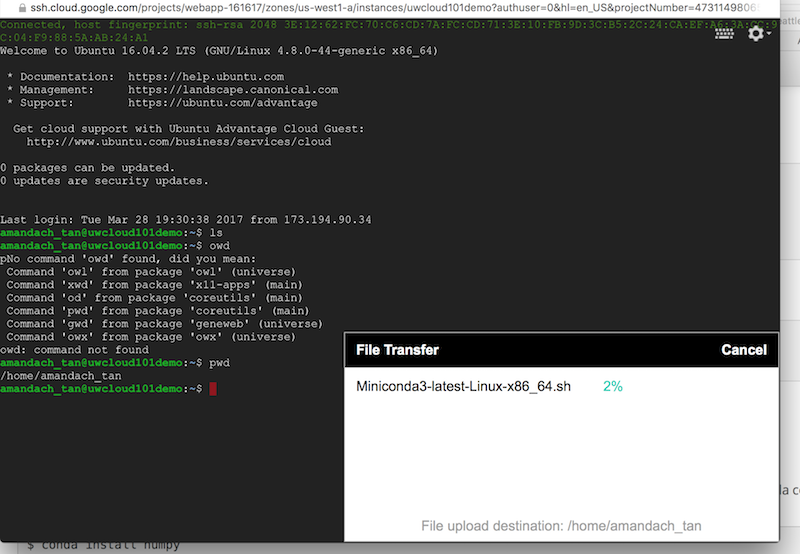
You can also transfer files directly from your local machine to your compute engine - it’s a little slow though!
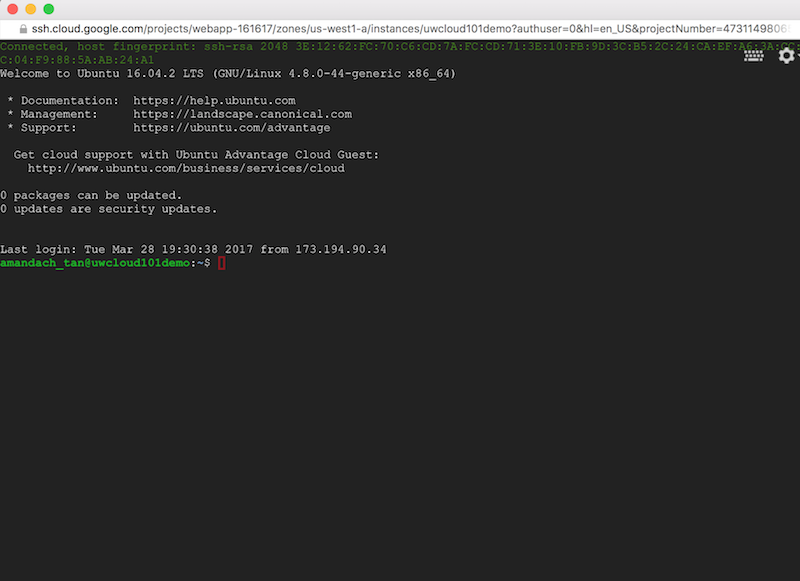
For this tutorial, we are going to use the browser terminals – you can still use your standalone terminal for this.
If you are using a Google Compute Engine, which we are, gsutil is already installed.
Provision Google Cloud Storage
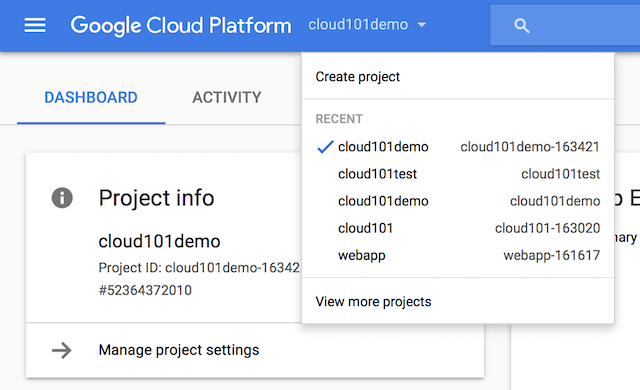
In the Google Cloud Console (http://console.cloud.google.com), on the top left corner, click the drop down menu to “Create Project”. Give your project a name. Google takes a while to provision resources.
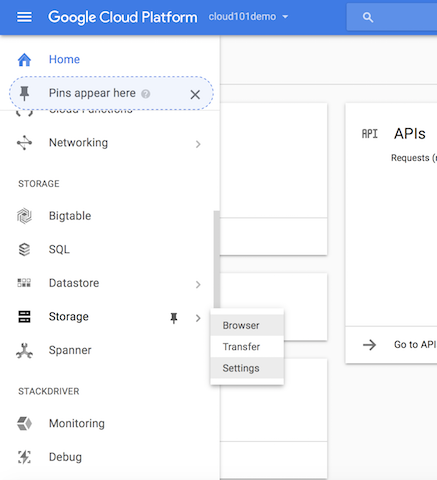
Once your project is provisioned, using the drop down menu, select Storage > Browser. You will need to enable billing to provision a data store.
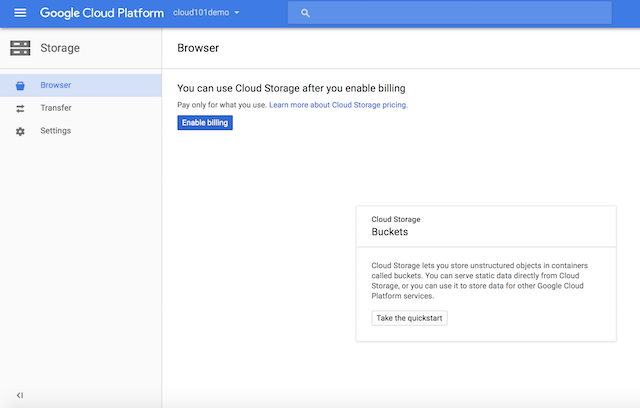
Next you can “Create A Bucket”.
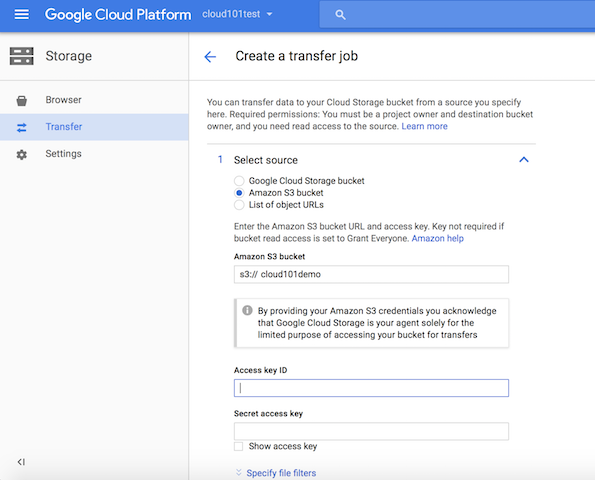
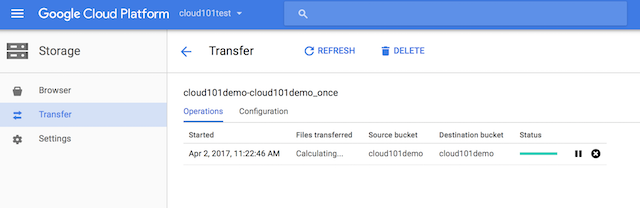
We will use the console to transfer files from our s3 bucket to Google Cloud Storage. Select “Transfer” > “Create Transfer”. Fill in the name of your s3 bucket you created earlier that hosts the geojson files, and fill in the Access ID and Secret Key.
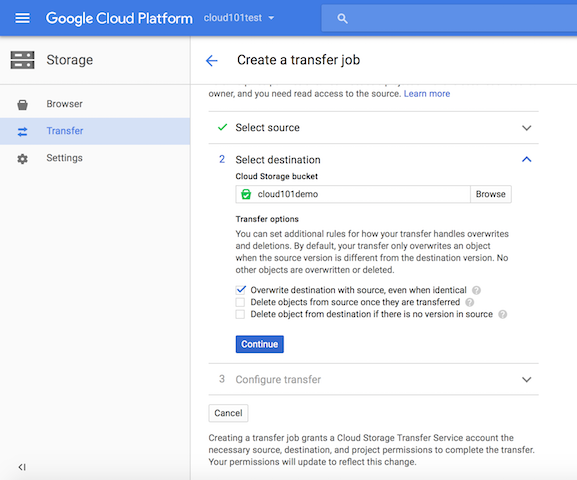
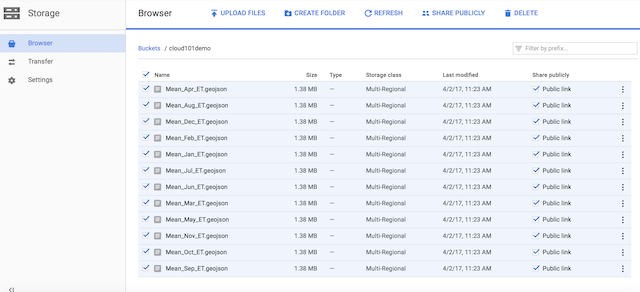
Next, select the destination which is the bucket you just created. You can leave the default configuration, and click create. You will see a transfer window. The final step is checking that all your files have successfully been transferred.